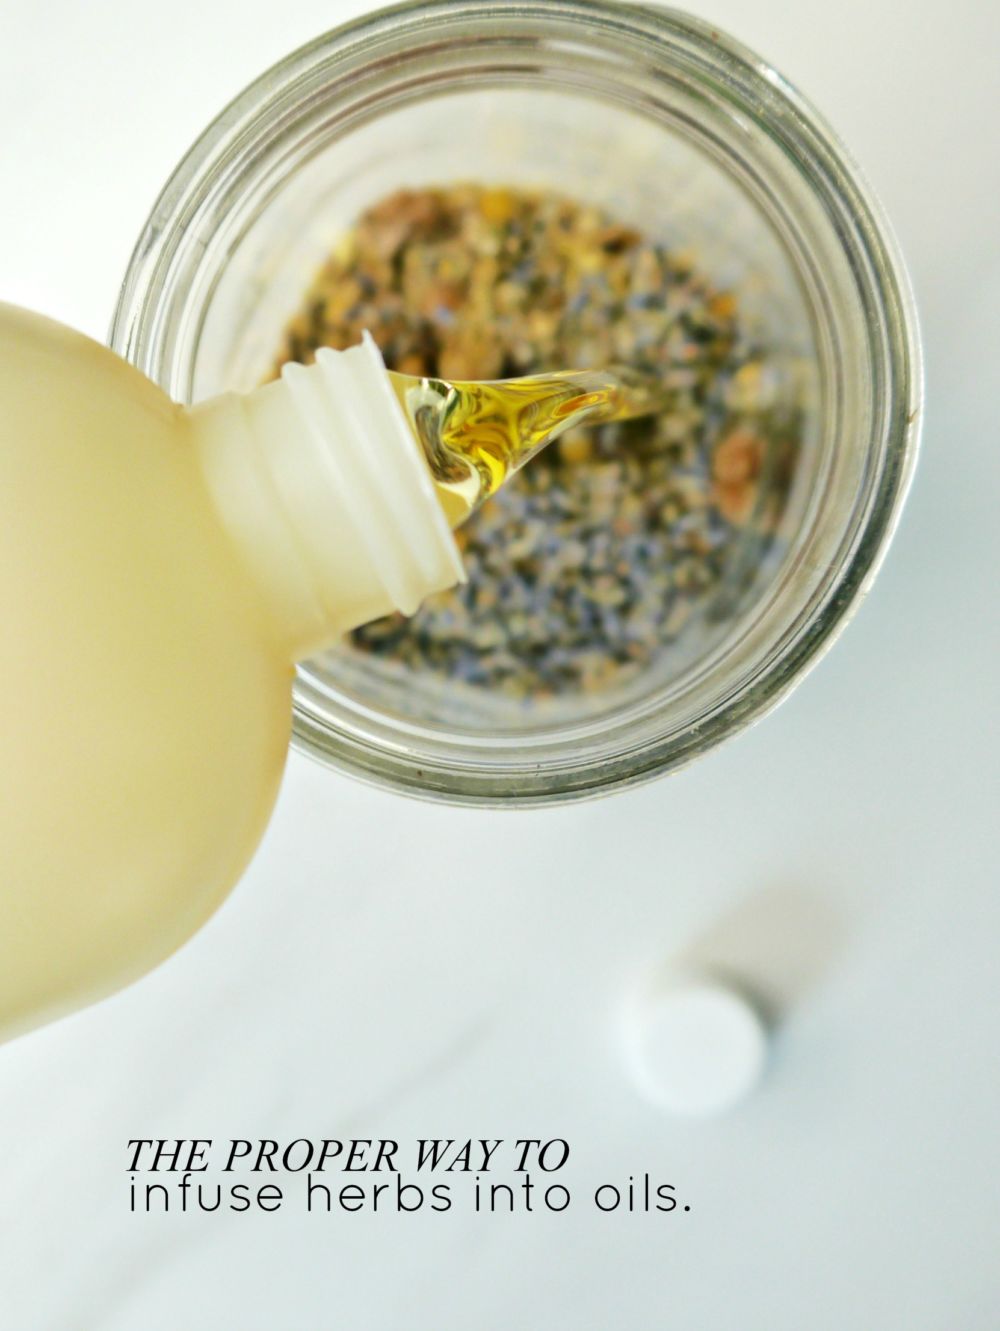
Making DIY skin care with herb infused oils takes results up several levels. In the beginning of my DIY skin care journey, I relied on essential oils to deliver herbal benefits but as I learn, many times essential oils are too strong for delicate skin. I often hear many people wanting skin care without essential oils. It can be hard to reach the right balance with using essential oils. However, with herb infused oils, you can customize your carrier oils to address what your skin needs in a gentler way.
I’m not a rule follower so while I’ve done the research to write this post, I’ve realized that infusing herbs is a lot of common sense with very little risk of screw ups. Let your creativity run wild when you’re planning your infusions! I certainly did!
You can use as many varieties of herbs as you feel like. You can also use several different methods to infuse depending on the time you have.
I love that I’ve started making quite a few basic DIYs to a whole new level due to using herb infused oils! Stay tuned for my Chamomile Infused Vegan Vaseline which is coming next week!
I have touched upon the subject of infusing oils before but I feel it’s time to bring it around again and dive a bit deeper in to the different herbs and different methods.
Previous Herb Infusing Posts:
- Calendula Infused Oil
- Calendula Eye Balm
- Coffee Infused Oil
- Calendula Tamanu Healing Salve
- Chamomile Infused Diaper Rash Cream
- Coffee Bean Caffeine Eye Cream
Helpful Tips:
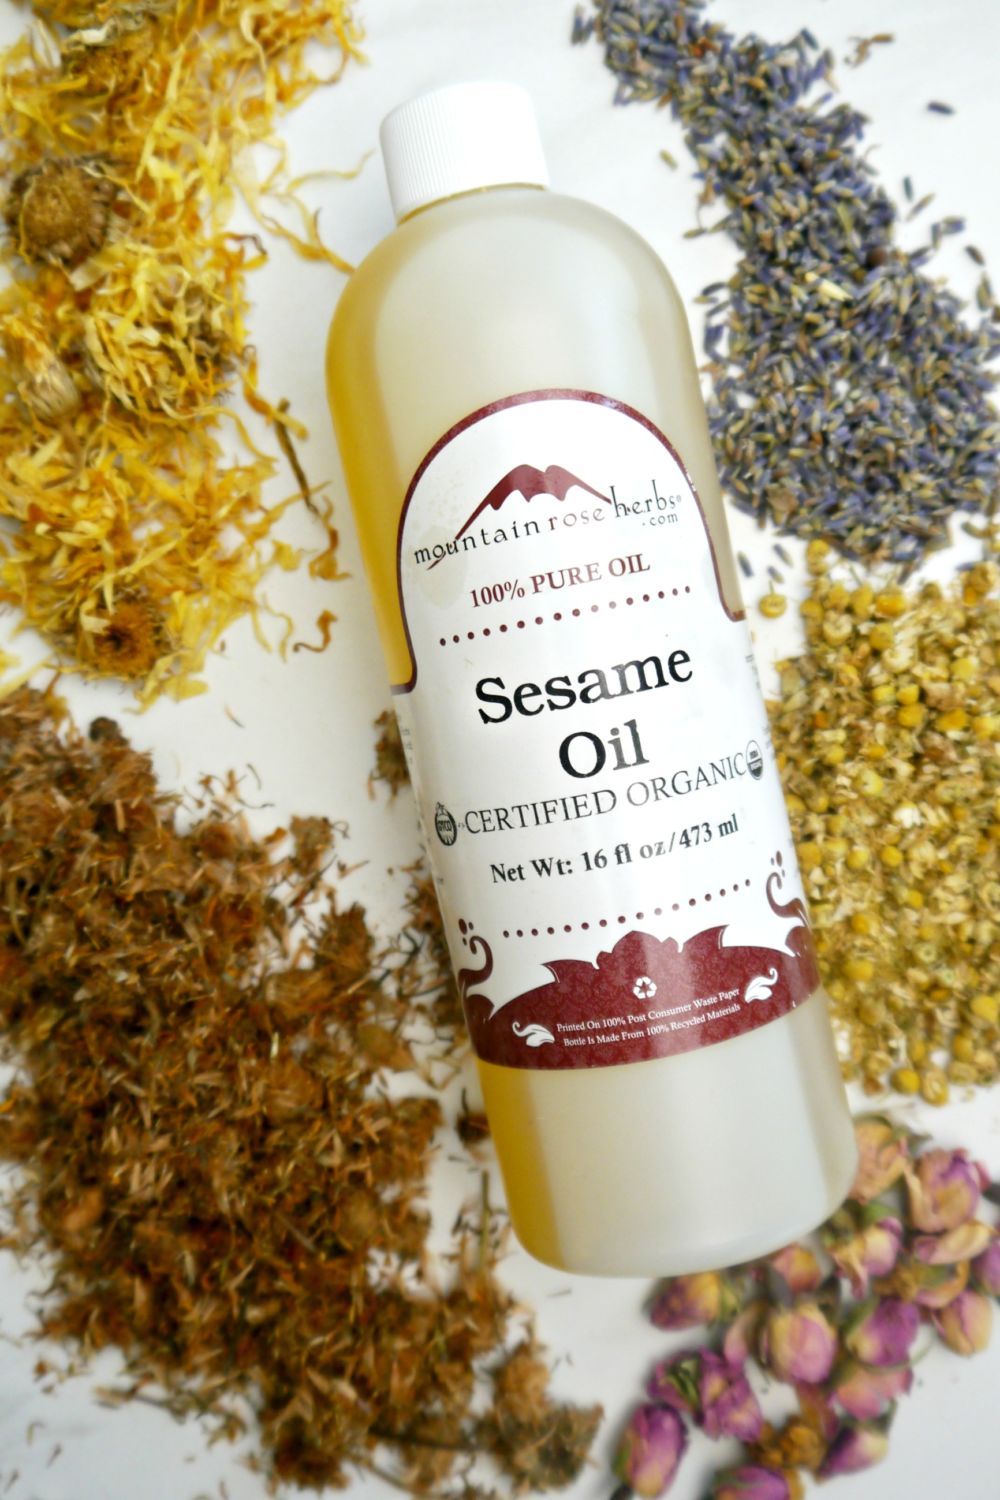
- Always use high quality, dried herbs. Fresh herbs are wonderful but they can contain moisture which will cause bacteria and mold in your infusion.
- Use as many dried herbs as you like! In my current infusion I have calendula, rose, lavender, chamomile and arnica.
- The less heat you use, the more you preserve the medicinal qualities of the herbs.
- Always use a clean and dry jar.
- Be sure to use labels. It’s very easy to forget what oil and what herbs you used when it’s been 3-6 weeks since you made the mixture!
- Use high quality, organic carrier oils like sweet almond oil, avocado oil, sesame oil, apricot kernel oil, coconut oil, olive oil etc.
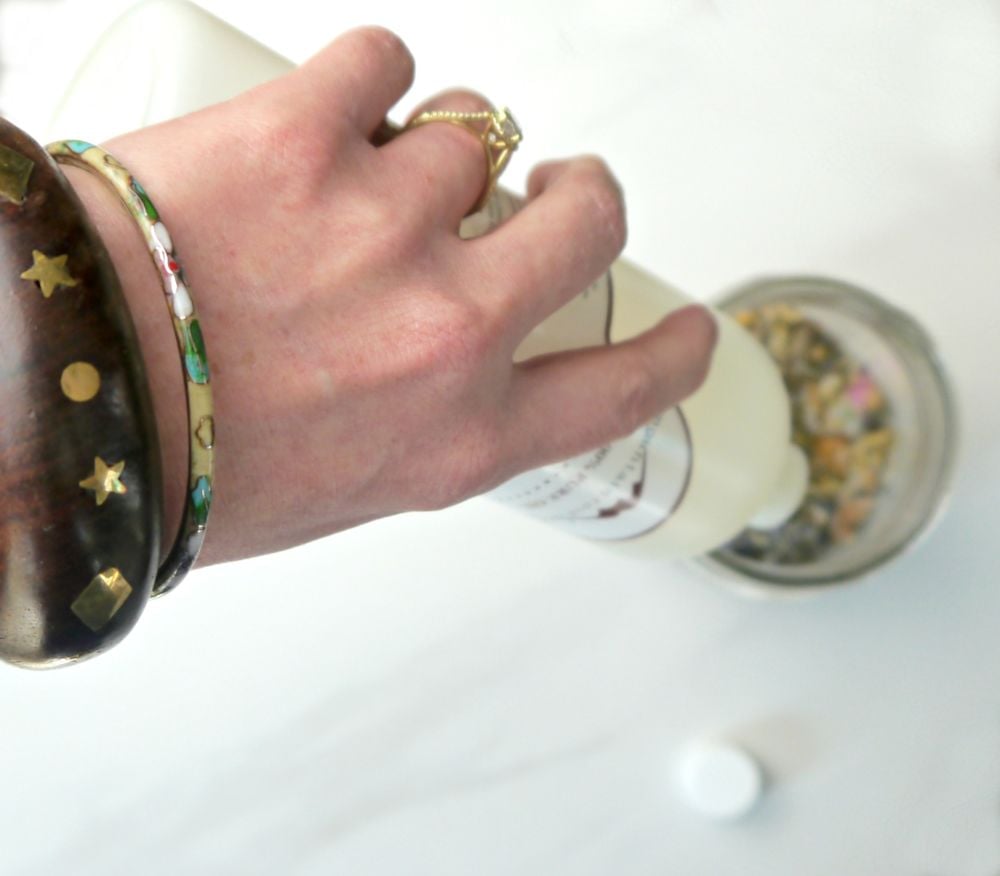
There are several different methods when infusing herbs in to oils. I believe the most effective method is the solar method because it uses less intense heat. However this method takes more time. If you choose to infuse, the directions are the same in the beginning and the end:
- Fill a jar half way full with herbs.
- Pour oil into the jar so that the herbs are completely covered with oil.
- Choose your method of heat.
- Once infused, use a cheesecloth or coffee filter and strainer to separate your herbs from the oil. See picture.
- Once separated, store in a dark, glass bottle or use immediately!
Warm Herb Infusion:
Place your jar in a warm, dark cabinet for 4-6 weeks.
Solar Infusion:
Place your jar in a bright window for 1-2 weeks. Every 1-3 days, roll the jar in your hands to help mix the contents and release the herbal constituents into the oil.
Stovetop or Crockpot Infusion:
Fill a medium sized pot or crockpot halfway full with water. Place your jar in the water and heat the water to 120-140 degrees Fahrenheit. Keep the jar in the water for 4-8 hours.
Oven Infusion:
Preheat your oven to 250 degrees fahrenheit. Turn the heat off, place the jar in the oven, uncovered, for 24 hours. If possible, leave the oven light on as it generates a small amount of heat and can help to keep the oil warm as it infuses.
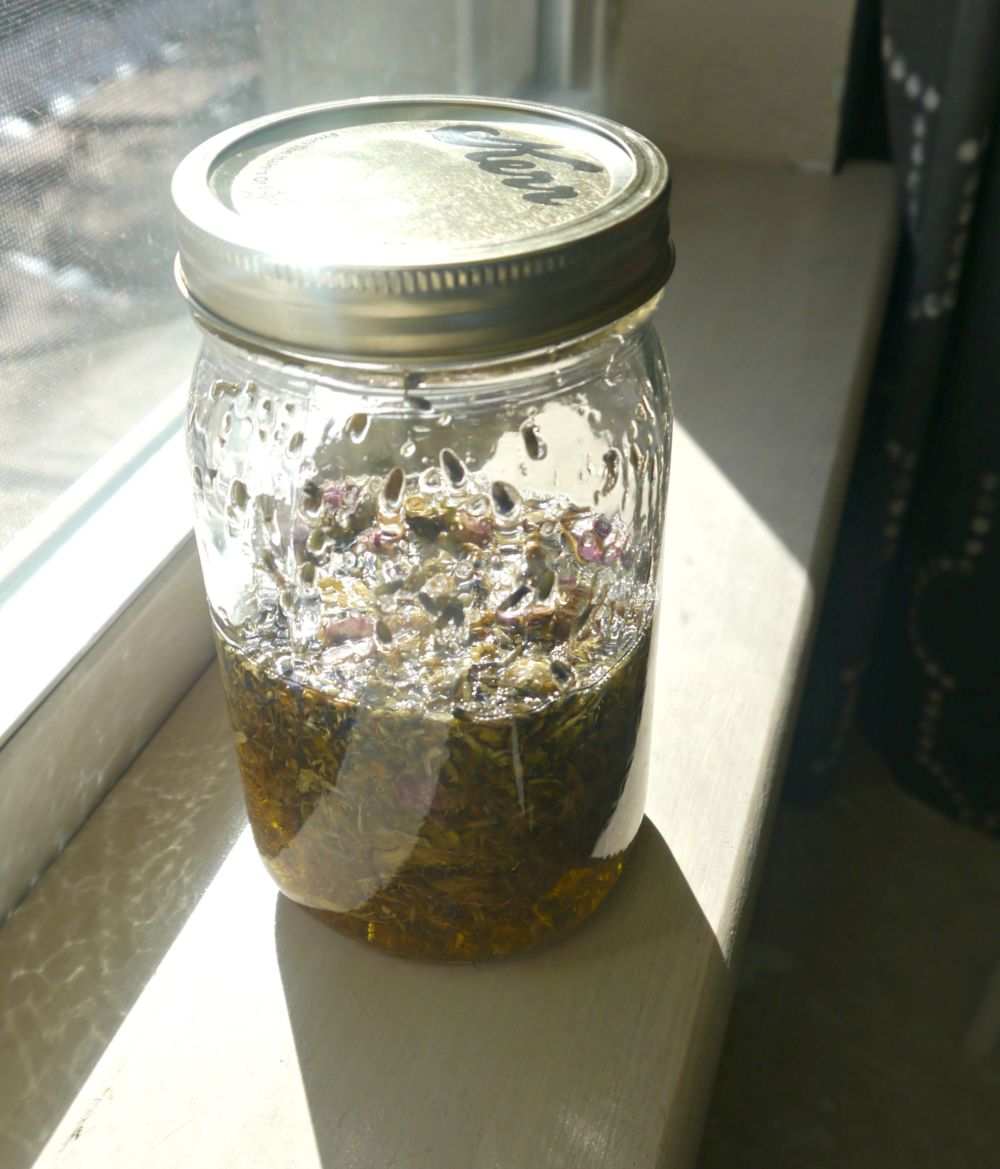
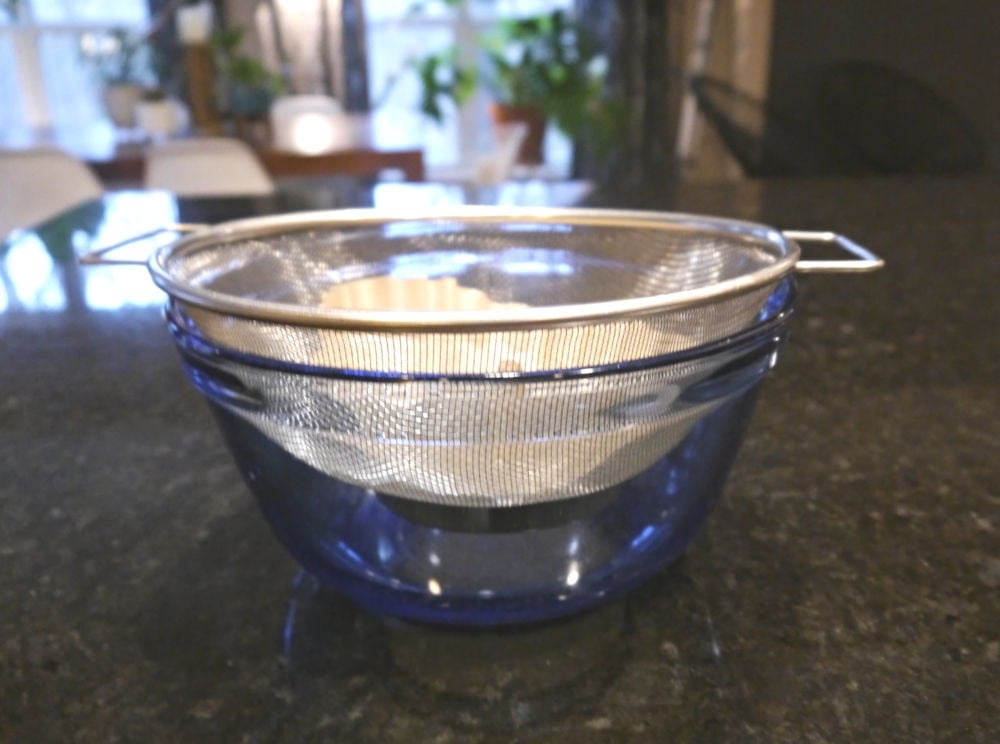

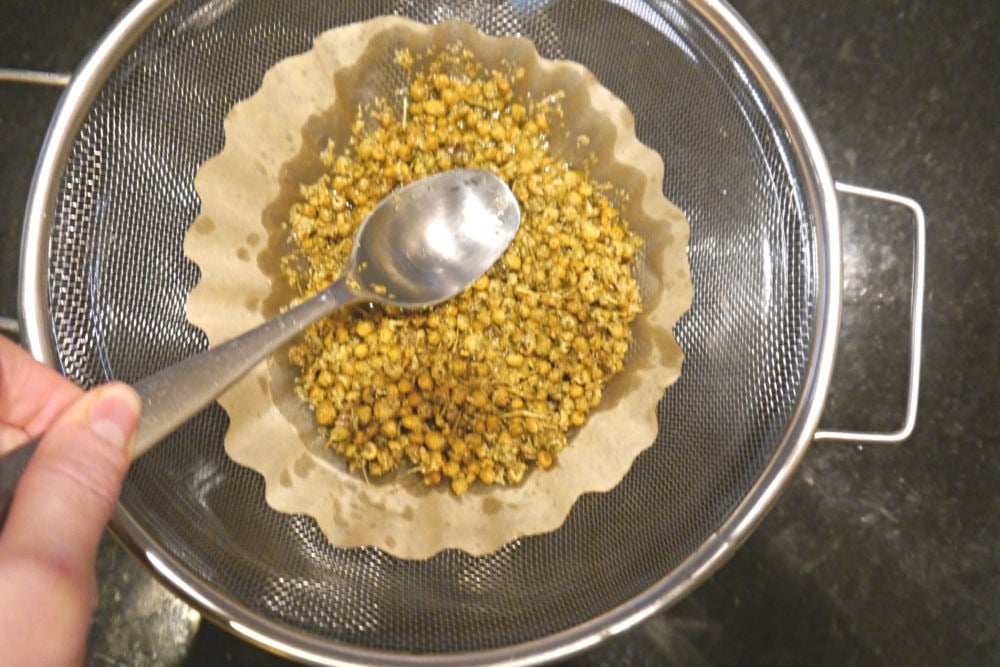
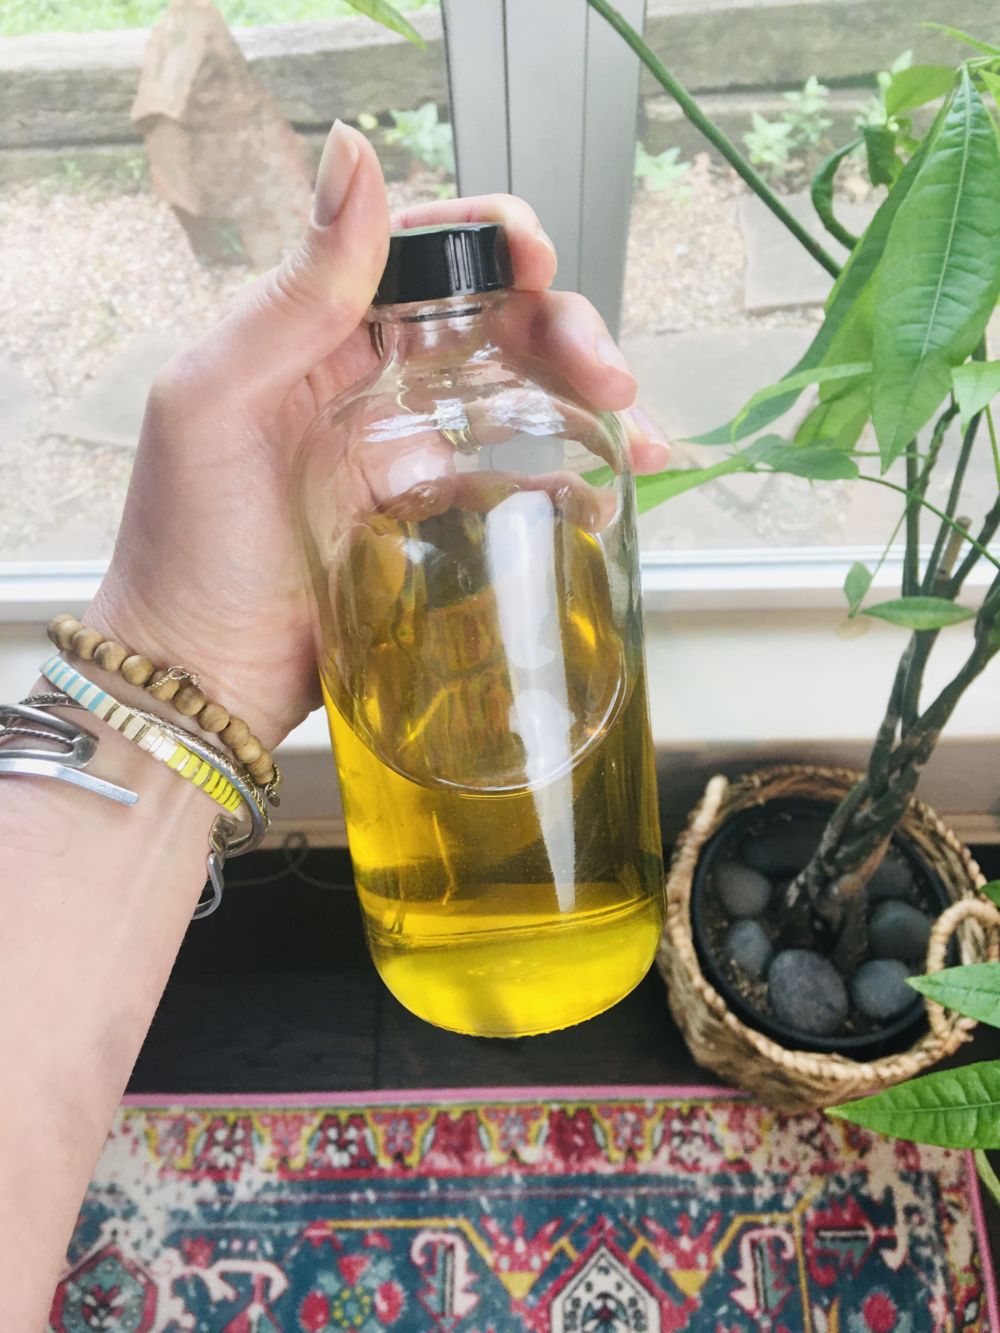
Above, I’ve showed the different steps I took for my solar infusion oil. I allowed my jar with oils and herbs to set in my windowsill for around 5 weeks. Then I used a bowl, strainer and coffee filter to separate my herbs and oils. Pushing down on the herbs with a spoon helps to get as much oil as possible into the glass bowl. I’ve already made a body balm as well as a new facial balm with my infused oil!
Herbs To Consider:
- Arnica-Great for thinner skin and bruising
- Calendula-Very Healing and great for sunburns, itches and rashes
- Rose Petals
- Lavender-Healing and calming. Reduces inflammation
- Chamomile-Healing and calming. Reduces inflammation
- Plantain Leaf-Encourages tissue renewal
Drying your own herbs that you’ve grown is my next endeavor. At this time, I can’t tell you exactly how to do this but hopefully this summer I’ll have some experience and can post! If you want to get ahead, I’ve found THIS article that will be very helpful. For now, I get all my dried herbs at Mountain Rose Herbs. You can find quality dried herbs at your local health food store.
Once you have your infused oil, feel free to use it in all your DIY recipes that include oil! They can add quite a boost to your products!
Don’t forget that you can make an infused oil for cooking as well! I’ve been considering making a rosemary olive oil!
xx, Jenni
PIN IT!!!

Thank you very much for sharing. It is very informative . I will try my own infused oil. Very help ful information to me .
Love your sight!!
Thank you for sharing
Lisa-Thank you!
Good evening from Australia.
With the window method; our summers are 37°-48°c daily…
Would this intense heat or sunlight be a detriment to the infusing oil?
Thankyou x
Fiona-Not at all and still a better method than using an oven.
Is it possible to swap between methods? I would like to do the solar infusion but there’s not sun every day so doing the warm herb method first and when there’s sun then place it on the window sill and then put it back in the cabinet? Is this a good idea or is it better to leave it with the same method? Thank you!
Andrea-I don’t think it would hurt at all.
Hi there,
I have a question, are you infusing all the herbs in the same jar, or do you do each of them separetely and then mix the oils together?
Thank you
Maria-You can do them all in the same jar unless you prefer to keep them separate in order to make other combos with them later.
Can I add multiple oils in the same jar
Sahara-You sure can!