 Let’s talk LED lights and their benefits for skin. LED lights are used in facial treatments because they penetrate the deeper levels of skin encouraging collagen production. LEDs also kill bacteria which can be very helpful on blemished skin. LED machines can also minimize fine lines and wrinkles, treat sun-damage, and reduce redness and puffiness! LED treatments aren’t typically invasive or dramatic treatments. They are usually performed by facialist and leave your skin with no discomfort. An LED facial treatment, also known as a “photo facial” can range anywhere from $115-$1250 dollars.
Of course, being the DIYer that I am, I decided to try an LED hand held device for my own use! I went with THIS one. It’s affordable and has good reviews. I’ve only had it a few weeks but I’m really enjoying my new skin care ritual. I’m using it as a preventative measure so I’m not looking for a lot of visible results. First, I want it to help my homemade serums penetrate deeper so they’re more effective. Second, I want to encourage and keep collagen production going.
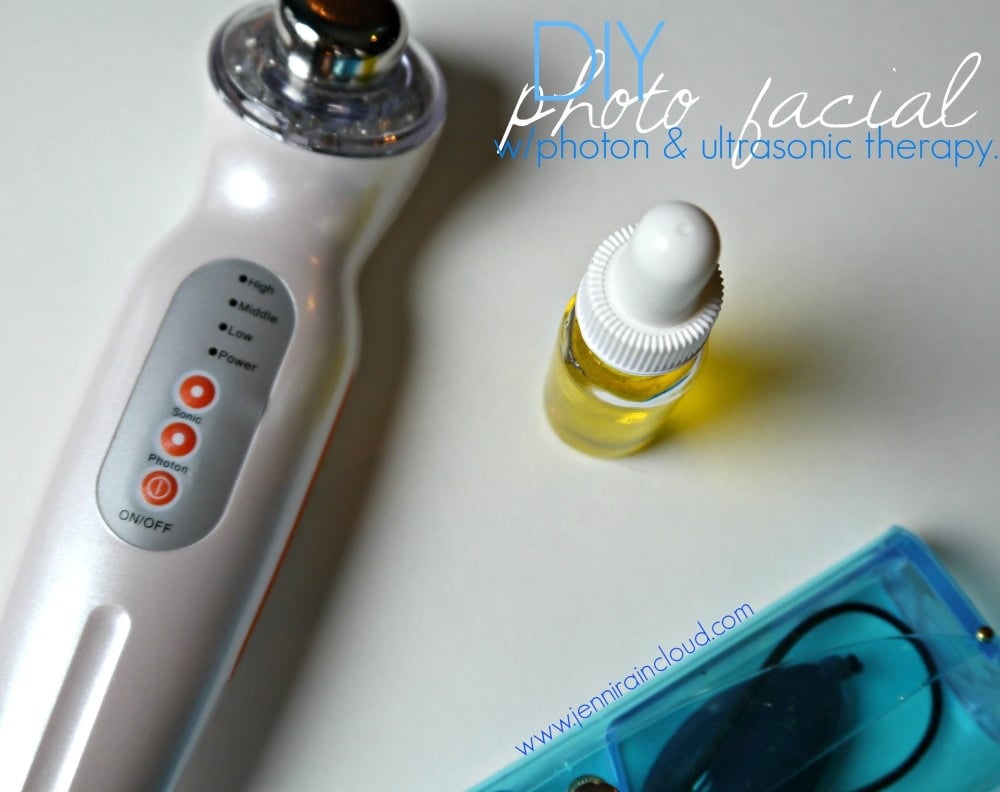
The Facial & Eye Photon Ultrasonic Device:
This Photon Ultrasonic Device has 2 different functions that can be used simultaneously or separately. The LED Photon Therapy is blue, red and green LED light.
- The red LED helps to stimulate collagen. It is the light that penetrates the deepest. It also helps reduce puffiness and reduce pore size.
- The blue LED is the bacteria killer. It also has been know to to tighten skin.
- The green LED brightens dull skin.
This device also has an Ultrasonic Therapy feature. The Ultrasonic silver nodule is in the middle of the LED lights and very slightly vibrates while gliding across your skin. This tiny low-frequency vibration stimulates blood circulation, rids the skin of dirt, helps with lymphatic drainage, increases cell metabolism, tightens, diminishes fine lines and wrinkles, de-puffs, lightens dark under eye circles, and fades ages spots!
There are low, medium and high settings pertaining to the Ultrasonic function. I use the high with ZERO discomfort but I read a couple reviews of people that did feel discomfort and were red afterwards. Be cautious and don’t over-do it. We don’t want to upset our skin!
Suggested Use: It is suggested to use your device 4x a week for 10 minutes each time. The device will actually shut off once it’s been 10 minutes.
Find the device HERE.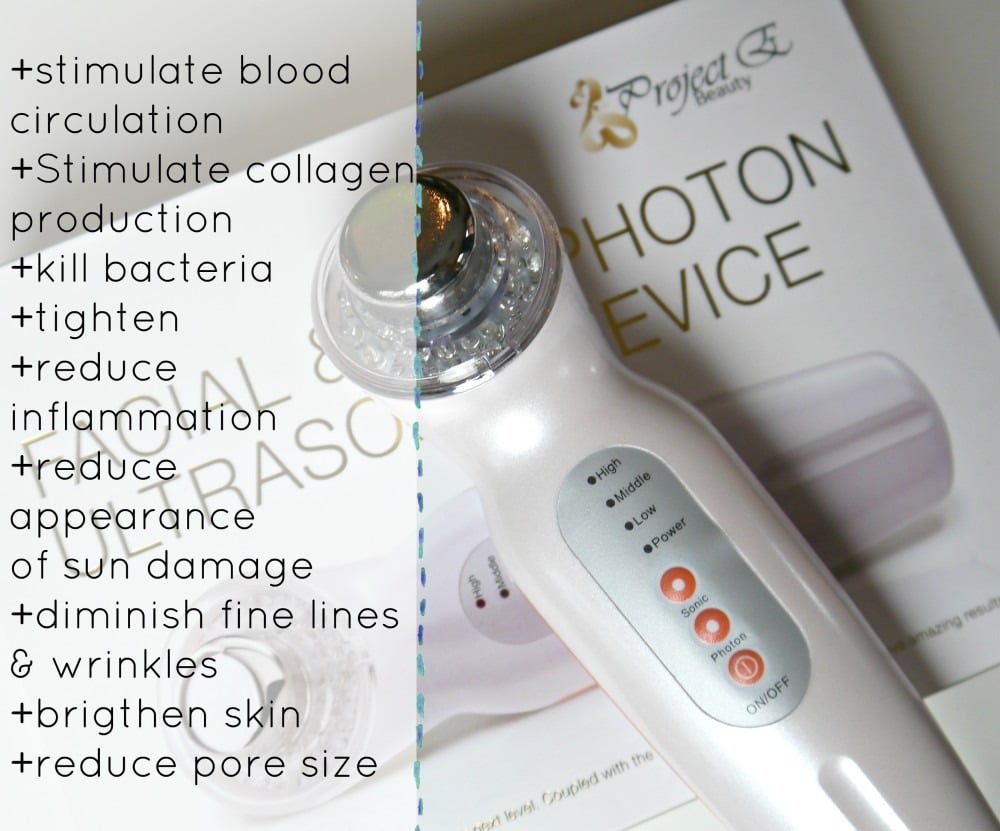
How do LED’s actually work?
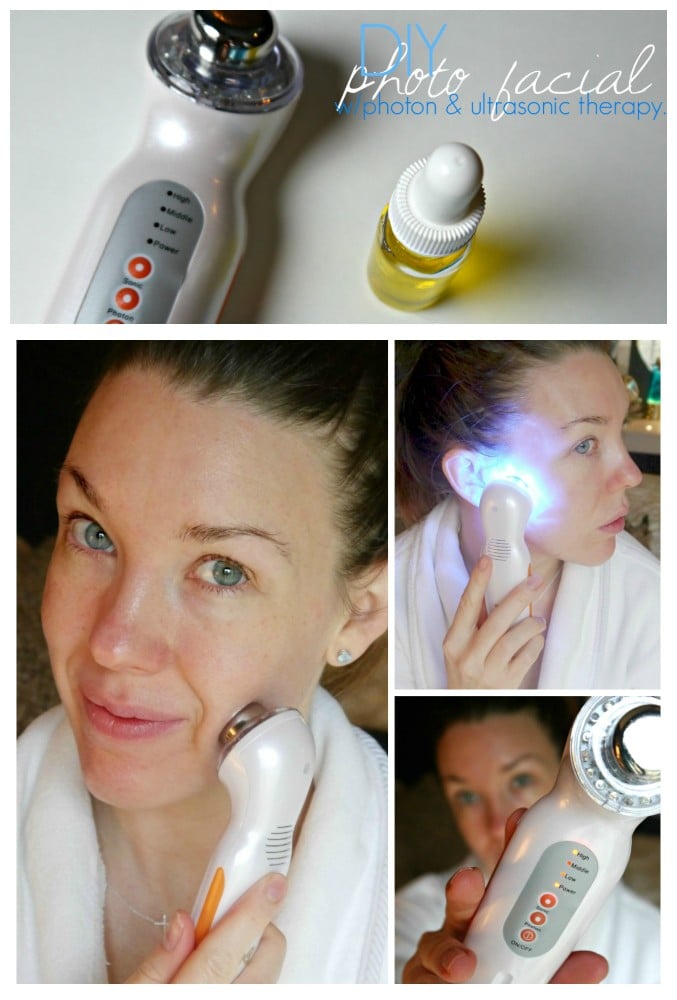
How to perform a DIY Ultrasonic Photo Facial:
- Thoroughly cleanse the skin.
- Remove all jewelry.
- Apply a serum. I’ve been using a simple oil-based serum like THIS one. You can also use a hyaluronic acid serum as well. Go HERE for that DIY. I’m guessing, all though I’ve not tried it, that aloe vera gel might work nicely too. I like to use something that has major skin benefits in hopes that the device will push it further into my skin for more benefits. It does come with it’s own serum but I do not approve of the ingredients.
- Turn on your device and select the level and LED color you are going to use. Hint: I usually do about 7 minutes of red and 3 minutes of blue.
- Put on the super lovely goggles. Unfortunately this is the bummer of LEDs. These little lights are BRIGHT! They will hurt your eyes even if your eyes are closed.
- Gently glide the silver disc in the middle of the LEDs over your skin using upward and/or circular movements.
- After 10 minutes, turn off your device and leave your skin alone.
- Get some beauty sleep!!
**Clean the LEDs and silver disc after each use. I use rubbing alcohol or vinegar and then wipe off with water.

It’s that simple! After a few minutes the LED light heats up a tiny bit but I find it very relaxing. Because this is not an invasive skin treatment, consistency and patience is key. Everyone is different and some people experience improvements within a week while others don’t see much for months. What I do know is that no matter what, this device will encourage healthy collagen production which is a must as we age. Collagen production declines dramatically in our late 30’s. No collagen equals saggy, wrinkled skin. It also kills bacteria-that’s for sure going to happen so to me, whether I see visible results or not, this device is worth it.
xx, Jenni
P.S. I forgot to mention that this device comes with a free 1 year warranty!
A Word of Caution!
Do Not Use If You Have Any of the Following:
- Cancer
- Acute infectious disease
- Disorders of the nervous system
- Inflammatory Disease
- Pregnancy
- Epilepsy
- High or low blood pressure
- Heart disease
- Using a pacemaker
- Hemophilia
- Phlebitis or thrombosis
PIN IT!!!

Jennifer Phillips worked as a licensed aesthetician for over 8 years before creating the DIY skincare blog, Jenni Raincloud and her natural skin care line, J. Raincloud Organics. Jennifer has been blogging full time for 16 years and loves to gain and share knowledge on how to achieve beautiful skin the natural way.

What a lovely article.Its so informative and really draws one in.Thank Jen!
Author
You’re welcome!
I just bit the bullet and ordered one, which I plan to use with your serum. Do you use on neck also? How many times a week did you start with?
Author
Hi Barbara! Yay! I use it 4 times a week with my own serum and I do 10 minutes each time I use it alternating with the red and green LED. Yes, you can actually use it anywhere on the body so the neck would be a great place! I hop you like it!
Thank you 🙂
Hi Jenni. I have the same device and used it with my DIY oil serum. But when I glides the device on my face, at certain area of my skin, I could feel painful pricking sensation. Only at certain area of my skin. Is it a normal sensation with ultrasonic devices?
I actually highly recommend the LED light. I am an actress, and do photoshoots and video shoots. Before every shoot I do the LED Light Treatment and I use the Somaluxe Face Wash before the photoshoot. The combination of both makes my skin flawless and look perfect on camera. Highly recommend
Hi Jenni-
It seems this device is no longer available on Amazon. I searched around but there are many devices with similar names- can you offer me any suggestions or search words?
Many thanks!
Author
Jennifer-Just found one that’s just like it and affordable! Find it HERE.
Thanks for sharing this useful information.
Hi Jenny,
I was wondering, can we use the led light or ultrasonic on a sheet mask ?
Do you recommend it ?
Thanks
Author
Magali-I never have-I’m not sure you would get the benefits of the LED light through a sheet mask.
I don’t think oil based serums allow the light therapy to penetrate properly. Water based are recommended
Author
Caren-I hadn’t heard that but I’ll look in to it. It makes sense. It’s just that oil gives a better slip. Thanks for letting me know!
Hi Jenni,
Love love your website. I tried looking up the photon ultrasonic device, amazon says page not found. I did find a device called LUMA for around 59 bucks. Would that be a good one? Thanks so much
Author
Debra-Thank you so much! I haven’t tried this brand but it is similar to what I have and I think it will work great!