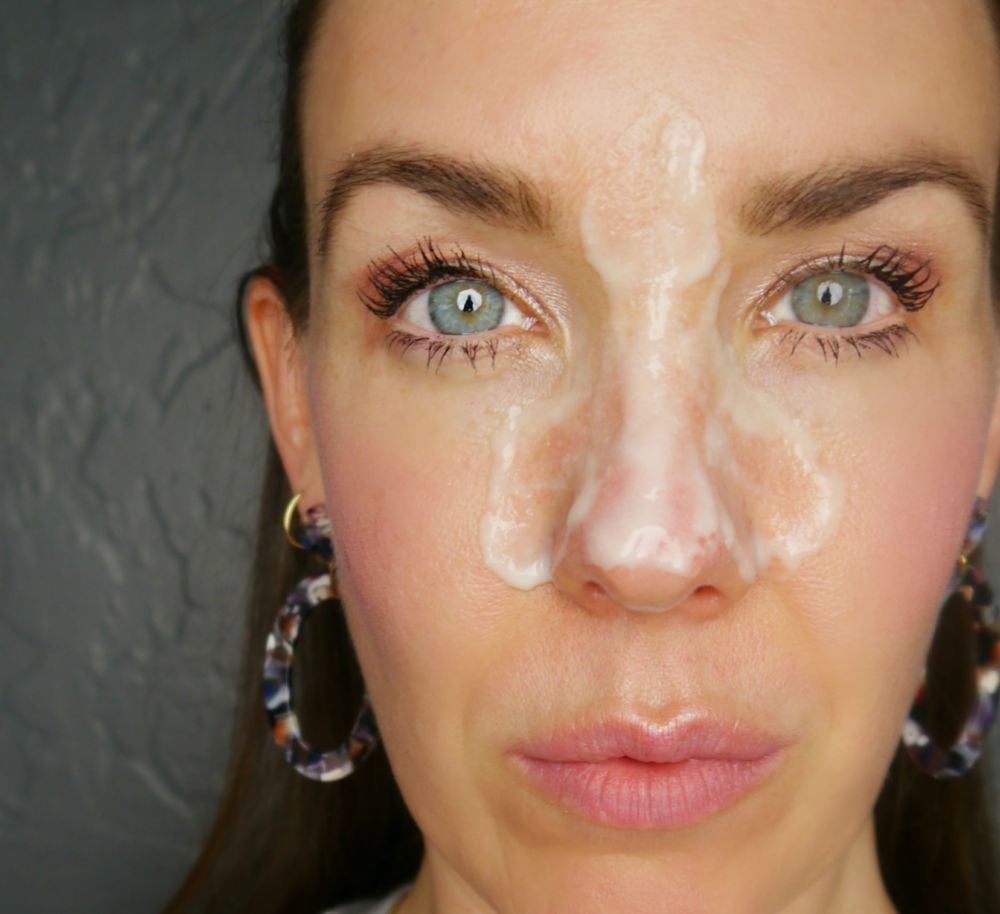
 There’s not a lot that is grosser than blackheads. Luckily, blackheads are common and easily removed. Everyone has them at one time or another. However, squeezing skin is never something I advise especially if you’re middle aged. Ours skin gets thinner as we age and it becomes very easy to damage skin. Breaking capillaries when squeezing is very easy to do. I prefer to deal with blackheads in one fell swoop. By this I mean, DIY pore strips.
Today, I’m going to make a mask that will purge the pores of impurities, namely blackheads. It’s easy to make, natural and effective.
I’m sure all of us at one point in time have used Biorè pore strip-you remember, those band aids from hell that you place on your nose, wait 10 minutes then RIP! Ohhhhh do I remember the pain-the eyes watering, skin stinging pain. What a satisfying feeling it was to turn that pore strip over though-am I right? Well, you can get that same pain by making your own Biorè strips!
This mask is super simple to make. All you need is gelatin and milk! So, let’s get started!
DIY Pore Strips
Directions:
- Mix the gelatin and milk in a small bowl.
- Pop in the microwave for 10 seconds.
- Using a brush, apply a THIN layer to your forehead, chin and/or nose.
- Let it set on your skin for about 10-15 minutes or until it’s dry.
- Start peeling!
- Be sure to replenish the skin with a good moisturizer afterwards.

I recommend to only apply the mask to your forehead, chin and nose. Unless you have blackheads on your cheeks, this area is too sensitive. Also, this mask will possibly pull out peach fuzz. Take great care to not get it too close to your hair line or eye brows!!
If you happen to get it on your hair or chicken out on pulling it off, you can remove it with warm water. You aren’t stuck if it feels too painful!
HINT: I suggest doing this mask after you’ve taken a shower. The steam can open the pores and loosen blackheads, making the pore strips more effective.
I hope you enjoyed this DIY! It’s quite easy to do on a weekly basis and can make a big difference.
xx, Jenni
PIN IT!!

How much gelatin is in one package? I buy it in bulk so I would rather use what I have. Thanks.
Lori, there is .25 ounces or 2.5 tsp. in each packet. Thanks!! Jenni
I need your help. This recipe doesn’t seem to be working for me. I am using grass-fed gelatin and it clumps up with the milk before I can get it mixed. Then, when I put what I can get mixed on my face it is very thick. After is drys and I peel it off, it seems to take a layer of skin with it but nothing from my pores.
Erika-I’m not sure but it could be your gelatin. I didn’t have the clumping problem using the common store bought brand. In my experience with different types of skin, not all skin let’s go of blackheads easily-mine doesn’t-I have small pores and my skin is usually dehydrated. The more oily the skin is the easier it is for the blackheads to come right out. I’m sorry you had no luck-this has worked for tons of people but not for everyone-I’m the same way, manually extracting after a good steam is the only way mine come out.
Thanks for all of your help. I LOVE your recipes!
Thanks Erika!
I tried this today and while it definitely felt like I was pulling stuff off my face, I don’t think it worked. I can see the gunk in one pore on my face and the gunk didn’t come out with the peel. Any advice?
Also, be sure to use a Popsicle stick or plastic knife, this sets up like glue. I hope I can save my brush.
Good information. Lucky me I recently found your website
by chance (stumbleupon). I have book marked it for later!
So would you say this would be a good alternative to facial waxing?
Jennifer-No, it’s not thorough enough. And it hurts WAY more!
Would Almond milk work? That’s all I keep in regular supply at my home. Thanks Jenni!
I’m not sure but I think it would. Really any liquid will make the gelatin harden.
I use a glue with activated charcoal…. Its easy and dirt cheap
A glue called Fevicol in India.
This is genius! ~Taylor at http://www.radiantskincare.org