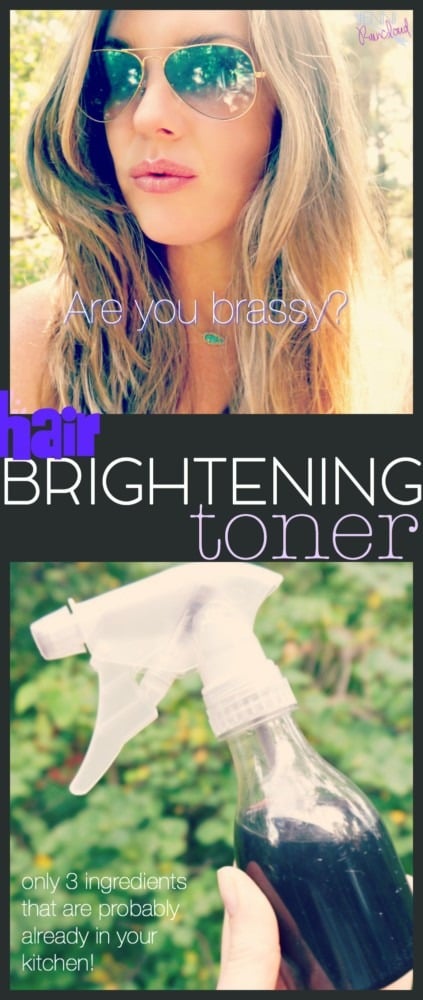
 I have this tendency to go somewhat blonde in the summer. I’m not sure why I’m still giving into this whim but inevitably, this brunette pushes the boundaries of nature and deals with damaged hair for the need of a lighter, more summery hair color. It happens the same way each summer too-by about July, I’m brassy. My hair looks unnatural and I’m dealing with the repercussions of bleach-FRIED HAIR.
So I have to confess, I bought a purple shampoo that greatly compromised my natural beauty values. I figured that I’d only use it once a week at the most and was hoping it would tone down the yellow in my highlights. Well, I didn’t know these kinds of shampoos dry out your hair. I had read many reviews and the one I chose was supposed to be very gentle and non drying. This was so not the case. My hair felt like straw and I couldn’t tell enough difference to continue to use it.
So I decided to use food coloring diluted in apple cider vinegar as a rinse. I like this idea because if you’ve read THIS post, you know that apple cider vinegar is actually good for your hair. It restore pH, amps up shine and seals the cuticle of the hair among several other huge benefits. Food coloring is possibly questionable but hey, you can eat it so I’m pretty sure it’s a better option then those drying purple shampoos.
My DIY toner did tone down the yellow/red tones in my hair. I could tell for sure-I’m not sure the camera really captured it though. The one thing it did do quite obviously was brighten my blonde. I’m very happy with the results and love that I can use this as often as every other day if needed!


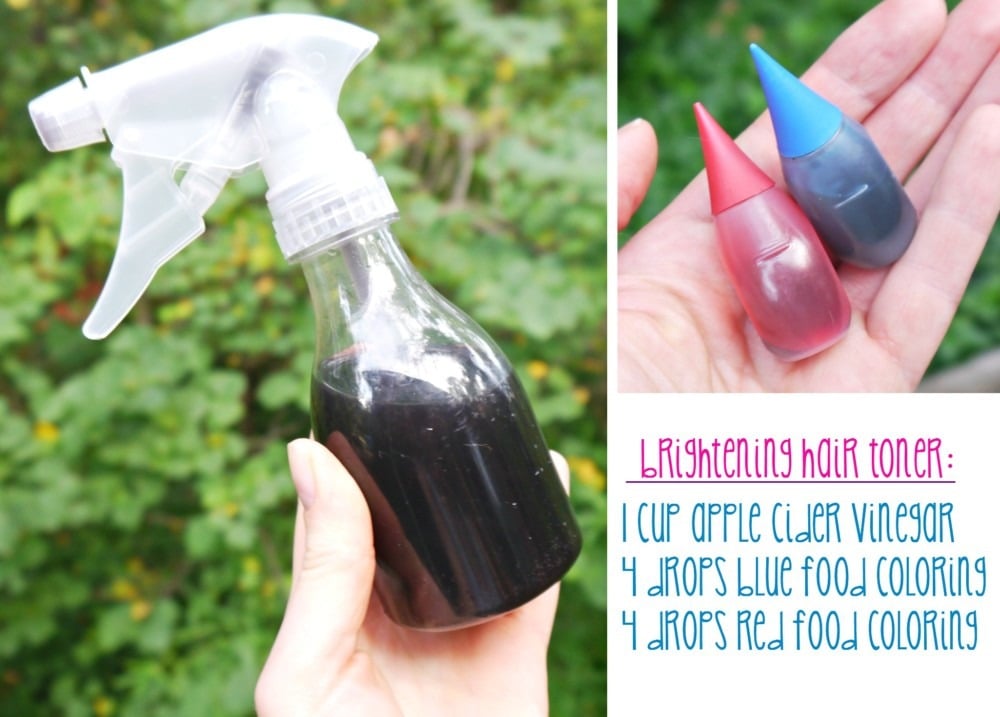
DIY Hair Brightening Toner
4 drops red food coloring
4 drops blue food coloring
1 cup Apple Cider Vinegar
Directions:
- Add the 3 ingredients to a spray bottle and shake.
- After shampooing and conditioning, spray a generous amount all over your hair.
- For more results, let sit for a couple of minutes.
- Rinse hair (colder water will seal the cuticle)
- Dry and style as usual.

**You will smell vinegar until your hair dries. I promise the smell won’t stay.**
WARNING: I advise you to try a test strip on a blonde strand of hair before you do this all over. It’s highly unlikely that you will get bad results from such a simple DIY like this one but you never know how color treated hair is going to react to certain things. I simple drenched one small chunk of blonde with the toner, rinsed it and waited for it to dry to determine if I should use it all over.
One more tip for dry hair that is helping me quite a bit is COCONUT OIL. It’s a no-brainer, I posted THIS post on a pretty time consuming hot oil treatment for hair and I honestly never take the time to do it. Putting a tiny amount of coconut oil in after your hair after it dries is so easy and smooths dry, frizzy hair so well. You just have to be careful not to use too much because coconut oil will travel up your hair to your scalp leaving you oily looking.
So there you have it-a plan for us “blondes” to get us through the rest of the summer or until I do my natural color again (which could be really soon at this point!).
xx, Jenni
[optin-form]
PIN IT!!!

Pingback: Hair Treatment Kiki Hair | Cellulite Treatment Surgery
Wow, never would have thought of this but makes perfect sense! I actually used to use Aveda’s Blue Malva shampoo years ago to tone down brassiness. Even though it was a better quality than most of those types of shampoos, it was kind of drying. Totally agree with you on the coconut oil. I used to do a big all over deep conditioning treatment with coconut and castor oil, but I could never get it all out. A little coconut oil (or other good one like argan) on just the ends makes a huge difference. It makes my hair so shiny! I’ve found that pretty much any oil that I like on my face will work well on the ends of my hair, my cuticles, etc
I am in love with the Firming Facial Oil! I also loved the fact that Jenni was willing to customize this oil for my oily/acne prone skin. So far my results are great! I love how lightweight the oil feels and how instantly it sinks in. I have been using it for a few weeks and and have already noticed my skin tone is firmer, a beautiful glow and a more even toned complexion. All the results I’d hoped for! I also feel good knowing that the ingredients are natural and healthy for me. I appreciated Jenni sending me a sample of the Anti-Wrinkle Eye Stick. The results are just as good! I will be purchasing that in the future. One more thing, I love the packaging, bright, trendy and fun! Perfect for displaying in my bathroom! Thanks Jenni! Looking forward to trying more of your products! 🙂
Natalie-Thank you so much! I’m so glad you are seeing great results!!
Pingback: Hot Coconut Oil Hair Treatment | Hair Loss Treatment Diet
hi jenni. love your website!
just wanted to ask if the diy hair brightening toner works on natural / not colored hair?
(and how red and blue turn to “blond”?)
Larcisa-Red and blue make purple and purple takes out brassy tones in blonde and white hair. I have seen this DIY around pinterest and it seems that it matters none whether the hair is naturally blonde or highlighted but my hair was highlighted so that’s all I can speak to. Thank you so much!!!
My hair is white white white. I guess I’m going to find out if I end up with purple hair or bright white hair..LOL
Adrienne-Hopefully it doesn’t-there wasn’t even a tinge of purple in mine but my hair isn’t super light. Keep me posted!
I can’t wait to try this DIY hair brightening toner! I love the natural ingredients you suggested, and I appreciate the step-by-step instructions. It’s so refreshing to see a recipe that doesn’t involve harsh chemicals. Thanks, Jenni!